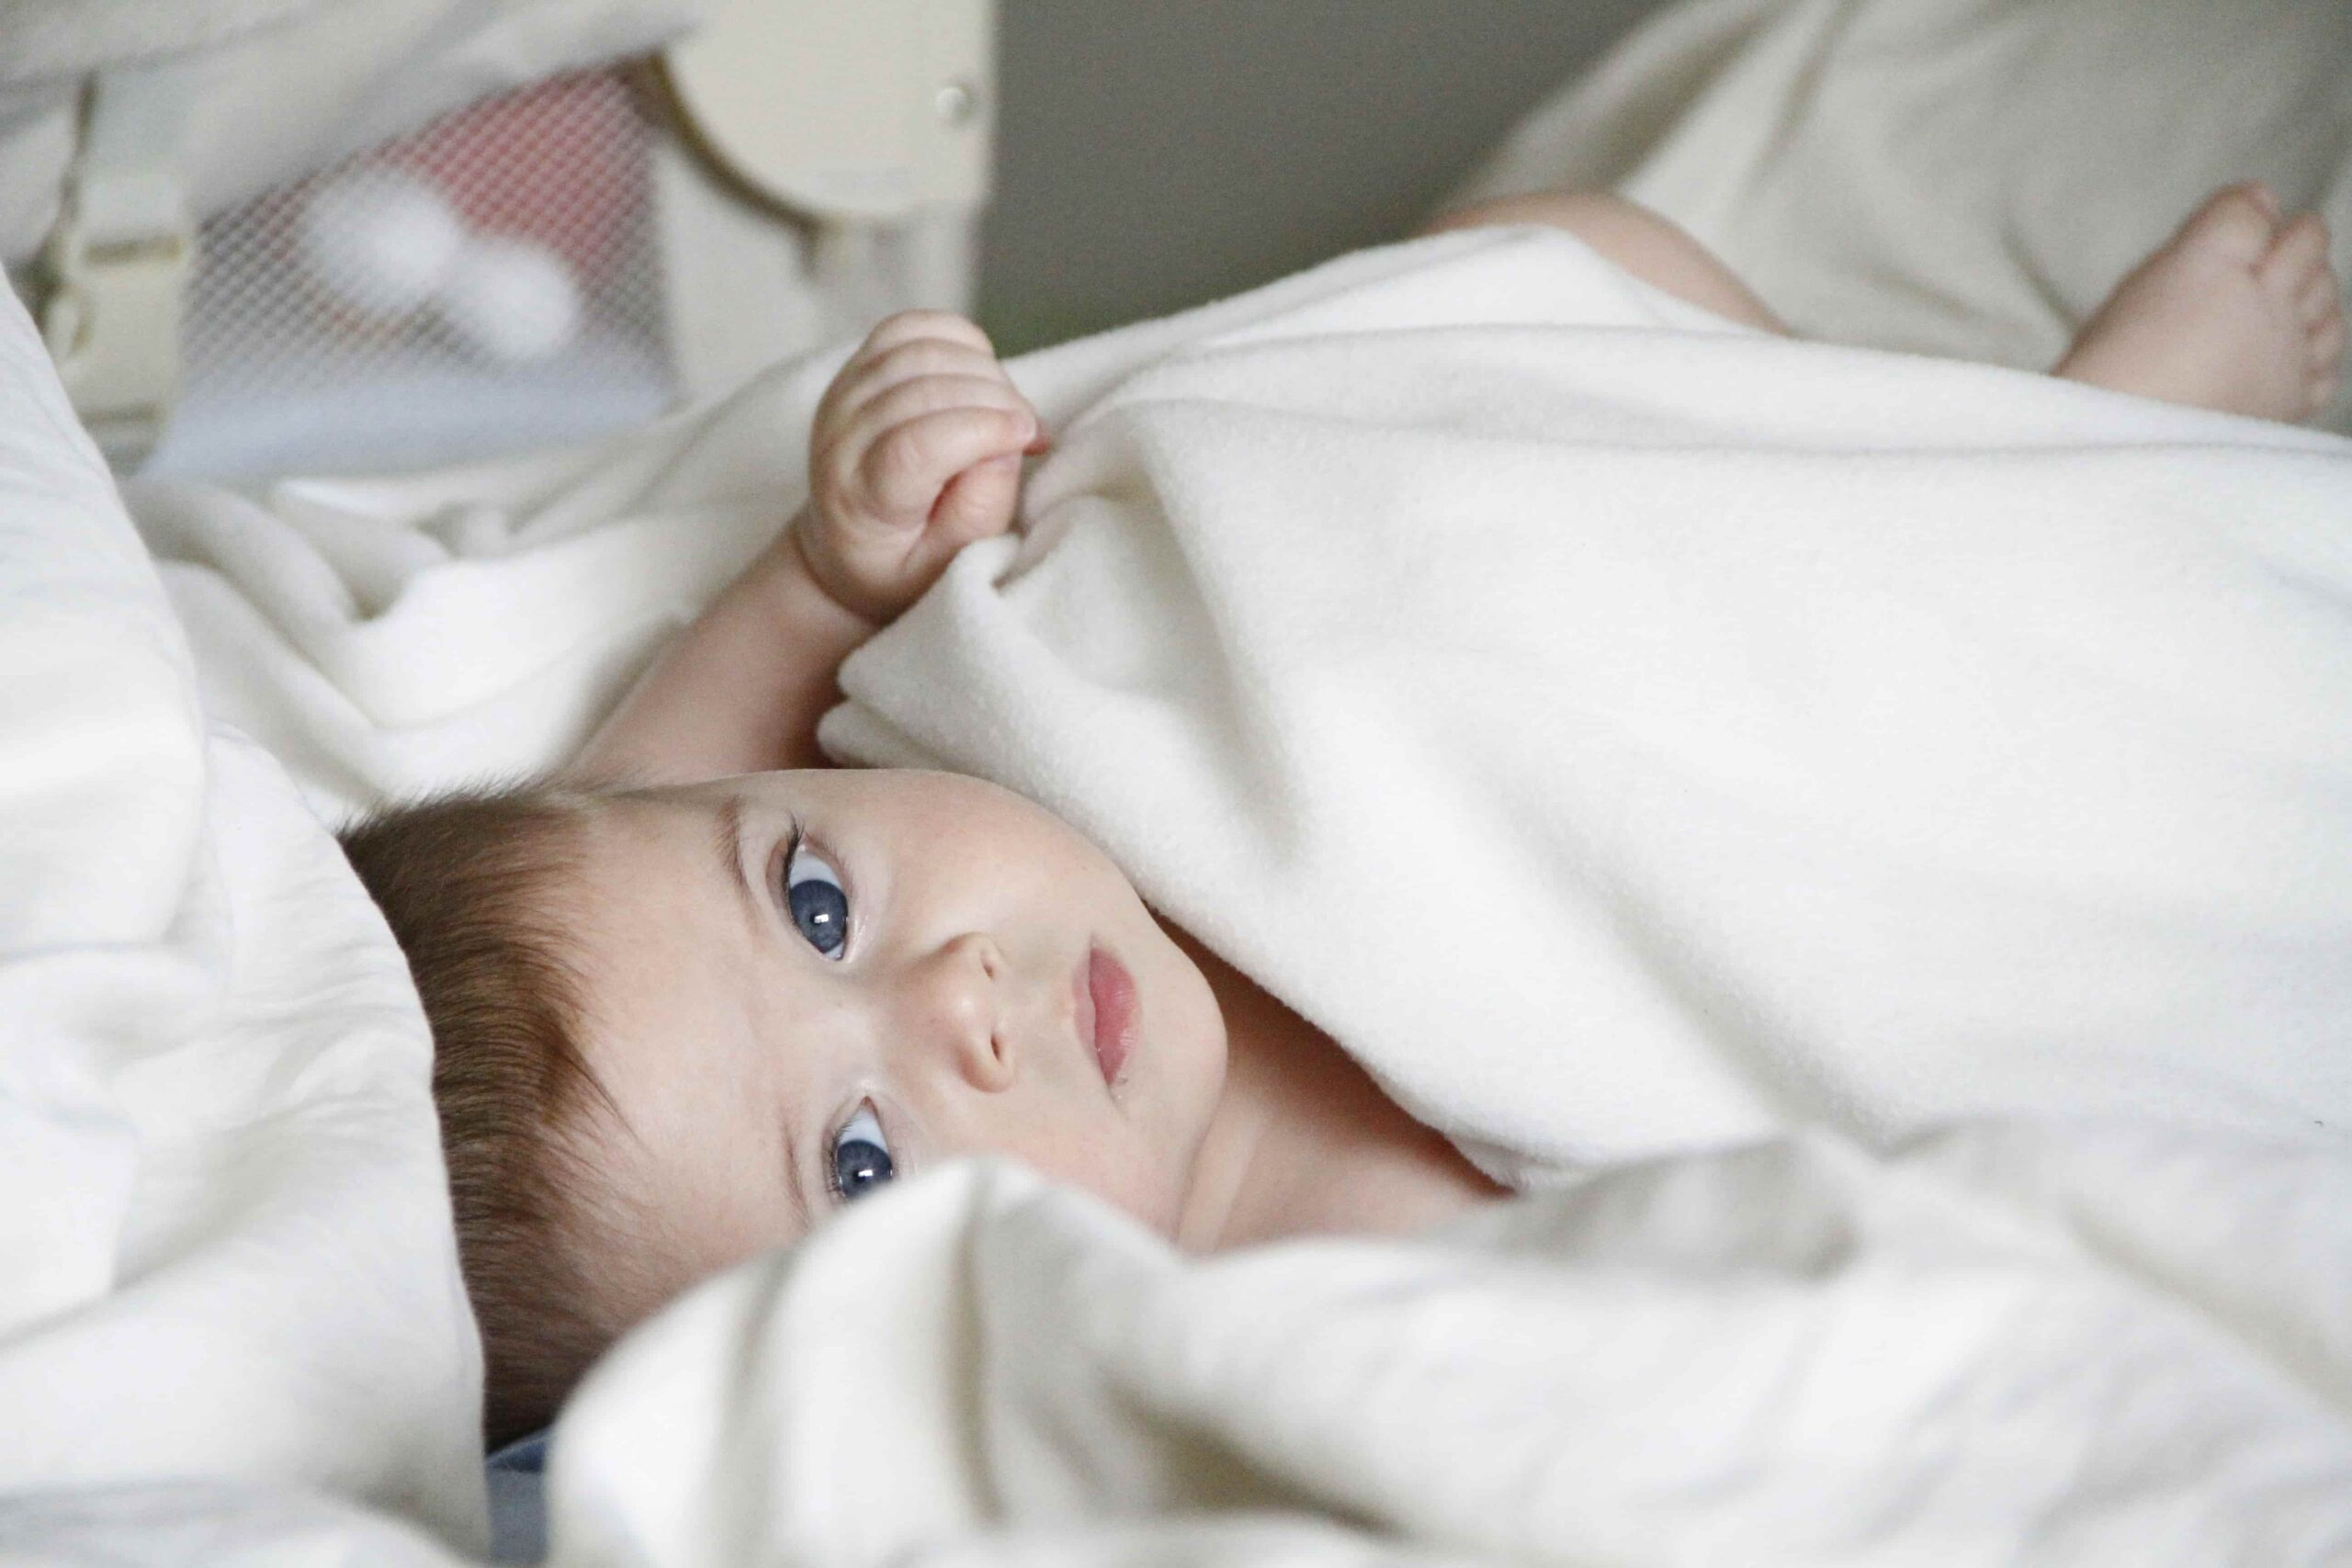
As a parent, you always want to ensure the utmost comfort and care for your little one. Regarding diaper changes, using cold wipes can be quite uncomfortable for your baby. That’s where a wipe warmer comes in handy. While store-bought wipe warmers are available, creating a DIY wipe warmer can be a fun and cost-effective solution.
In this article, we will provide a comprehensive guide on how to create your DIY wipe warmer and offer valuable tips for optimizing its usage.
Why Is It Important to Use Wipe Warmer for Babies?
New Parents find diaper changing a difficult task especially when their baby hates diaper changes and cries every time you try to change his diaper. You can get over this situation by using warm wipes. Warm wipes are more suitable for babies and have the following benefits.
- Firstly, warm wipes help soothe your baby’s sensitive skin, making the process more pleasant for them.
- Secondly, the warmth can prevent your baby from experiencing shock due to sudden temperature changes.
- Finally, a wipe warmer can make nighttime diaper changes more comfortable, ensuring your little one stays relaxed and sleepy.
Step-by-Step Guide to Creating a DIY Wipe Warmer
For new parents, creating a DIY wipe warmer can be a rewarding and practical project. With a little effort and creativity, you can give your little one the warmth they deserve during diaper changes.
So, why wait? Start gathering the materials today and embark on this DIY adventure to create a wipe warmer to keep your baby happy and cozy throughout their diaper-changing journey Here is a step-wise guide that will help you to create your DIY wipe warmer:
Materials Needed For DIY Wipe Warmer
Before we delve into the step-by-step process, let’s gather the materials required for creating a DIY wipe warmer:
- A plastic container with a lid
- A washcloth or small towel
- A small heating pad or hand warmer
- A thermometer
- An extension cord (if necessary)
- Safety pins or adhesive tape
Step 1: Prepare the Container
The first step for making a DIY wipe warmer is a container. You can take a plastic container with a large lid to hold the wipes for regular use. Moreover, make sure that the container is clean and free from any residue. A rectangular or square-shaped container works best for this project.
Step 2: Position the Heating Element
The second step is to warm the wipes. Place the heating pad or hand warmer at the bottom of the container. While doing this you have to ensure that the heating element covers only a portion of the container’s surface area, leaving space for the wipes to be stored.
Step 3: Attach the Thermometer
Temperature monitoring is most important. For this, you can attach a thermometer using safety pins or adhesive tape, to the inside of the container’s lid. This will allow you to monitor the temperature and ensure it remains within a safe range for your baby.
Step 4: Add the Moisture Element
Dampen the washcloth or small towel with warm water and wring out any excess moisture. Fold the damp cloth and place it on top of the heating pad or hand warmer. This will provide the necessary moisture to keep the wipes fresh.
Step 5: Store the Wipes
The second last step to making DIY wipes warmer is to store them properly. Now, place your preferred brand of wipes on top of the damp cloth. Make sure the wipes are arranged neatly and cover the entire surface of the cloth. Close the lid of the container securely to retain the warmth and moisture.
Step 6: Test the Temperature
Lastly, allow the DIY wipe warmer to heat up for a few minutes. Then, check the temperature using the attached thermometer. It is essential to maintain the temperature between 95°F and 100°F (35°C and 37.8°C) to ensure the wipes are comfortably warm without being too hot. Here your wipes are warmer and ready for safe use for your baby.
FAQs about DIY Wipe Warmers
1. Is it safe to use a DIY wipe warmer?
Yes, if done correctly and with proper monitoring, a DIY wipe warmer can be safe. Ensure that the temperature remains within the recommended range and regularly check the wipes for any signs of spoilage or mold.
2. Can I use any type of plastic container?
It is best to use a BPA-free plastic container to avoid any potential chemical leaching. Look for containers that are specifically labeled as safe for food storage.
3. How often should I change the water and washcloth?
It is recommended to change the water and washcloth every two to three days to maintain cleanliness and prevent the growth of bacteria or mold. If you notice any discoloration or unpleasant odor, change them immediately.
4. Can I use a wipe warmer for other purposes?
While a wipe warmer is primarily designed for warming baby wipes, you can also use it to warm small towels or cloth wipes for various purposes such as makeup removal or personal hygiene.
Conclusion
Creating a DIY wipe warmer can be a rewarding and practical project for parents. The step-by-step guide in the above article helps you to make baby wipes warmer at home. With this DIY wipe warmer, you can ensure that your baby’s diaper changes are more comfortable and enjoyable.
It is worth noting to prioritize safety by monitoring the temperature of the homemade wipe warmer and regularly inspecting the wipes for any signs of deterioration.

